
Shed felt is the best way to protect your shed roof from moisture damage. It is used as a water-resistant protectant for your shed roof and is quick, easy and cheap to do yourself. Prefab sheds often include a poor quality shed felt that doesn’t keep moisture from penetrating the wooden roof. This makes replacing the shed felt necessary to prevent damage to the roof from moisture leading to mold, fungus, and rot. Replacing, or re-felting, your shed roof is the best way to extend the life of your shed and prevent moisture-related problems.
This article gives you the best way to install shed felt, find good adhesives for shed felt, decide whether you can put new felt over old felt, learn how to felt edges and corners of a flat roof, find what you can use instead of shed felt, and tips to make sure your shed roof is protected.
What is Shed Felt?
Shed felt is a lightweight, moisture-resistant material that is applied directly to the wood roof of a shed with nails and often a shed felt adhesive. It protects a wood shed roof from rain, wind, ice, snow, and moisture. Professional grade polyester reinforced shed felt the strongest type and most preferred type.
How To Install Garden Shed Felt Roofing
Installing shed felt on a garden shed can be done by yourself in an afternoon and for around $100. If you want to apply wood preserver ahead of time this will need 24-48 hours to dry before you can install the shed felt.
Before You Install Shed Felt
Before you get started, a few safety reminders.
Shed roofs are not made to support the weight of an adult, so plan to complete the installation with a ladder from the side as much as possible. If you have to get on the roof, stay low and spread your weight into 3 points, keeping to the edges as much as possible.
As with any project, if you are working alone, make sure someone knows you’re involved in a project and to check in on you from time to time. In case you get hurt, you’ll be glad you took this precaution.
Prepare Your Shed and Inspect
To get started with shed felt installation, you need to get your shed ready. Start by inspecting your shed.
Check the Ceiling of Your Shed
Make sure the wood on the ceiling of your shed is salvageable. If the interior of your shed has rotting wood on the ceiling, these need to be removed and replaced before moving forward with installation.
Remove Old Felt
Removing old felt isn’t totally necessary, but it is recommended. If the old felt isn’t ripped, torn, or rotted, you can probably get away with just layering new felt on top. But, while this might save you an hour of time, it isn’t recommended because moisture may still get in between the old and new felt and the finished product isn’t as nice.
Clear Off Dirt and Debris
Take a broom and brush off dirt and debris and remove any old nails with a claw hammer. Shed wood should also be dry. If it has rained, you need to wait until it has completely dried before installing shed felt.
Apply Wood Preserver
Applying wood preserver is optional, but it can add an additional year or two to your shed by adding additional protection from moisture. You may need to wait 24-48 hours for the wood preserver to dry before installing, so plan accordingly.
No products found.
Measure the Shed Roof
In order to buy shed felt, you need to know how much to buy. Measure the shed roof so you know how many rolls of felt to buy.
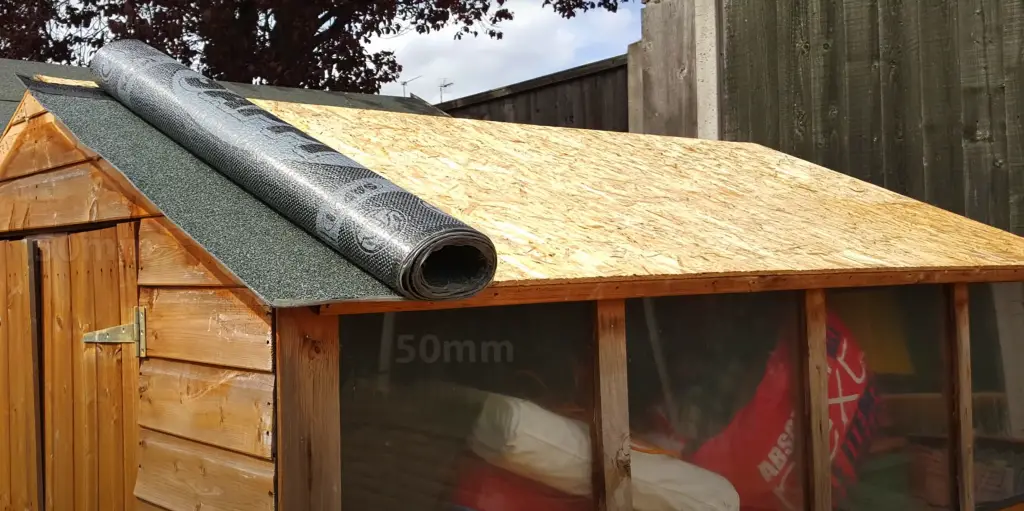
How to Measure Shed Roof
The easiest way to measure your shed roof is to use a tape measure and measure the width from end to end, add 50mm to EACH end to account for overlap. Overlap covers the edge of the roof to take rain off the roof.
Then, for a pitched roof not a flat roof, measure the length of the roof and add 10 cm to each side.
All Shed Roofs:
Width of shed roof (in cm) + 5 cm front overlap + 5 cm rear overlap = Total cm to cover shed roof
If your shed has a pitched roof, you’ll need to take an extra step and measure the length of the roof plus add 10 cm of overhang to each side, so length + 20 cm is what you need for the top peak of the roof.
Pitched Roof Only:
Length of pitch + 10 cm left overlap + 10 cm right overlap = Total cm to cover peak of shed roof including nails
Buy Shed Felt Materials and Tools
It’s time to choose and buy the shed felt material. Shed felt comes in either self-adhesive or torch-on applications. It’s made of modified bitumen and heavy duty professional grade shed felt has either a fiberglass or polyester reinforcement.
The strongest and most durable is professional grade polyester reinforced shed felt. It has polyester internal reinforcement and typically comes in a few different thicknesses, or weights. For small sheds, the thinnest size of professional grade shed felt should hold up well for many years.
Table could not be displayed.If you buy shed felt that is torch-on, you don’t actually need to use a blow torch, unless you want to, have one, and know what you’re doing. The same shed felt can be applied without a blow torch and you can cut off any excess polyurethane that you’d normally burn off, with a good pair of scissors.
- A
- A level or straight edge and marking pen
- 15-18 mm galvanized clout nails, although measure to be sure of size
- Temporary nails
- Shed felt adhesive
- Polyester based shed felt
- Fence boards for trim
Prepare Shed Felt
Now that you have your shed felt and shed measurements use the marking pen and level and mark on the felt were you need to cut. It’s a good idea to mark one side of the felt then the opposite side and use the level or straight edge to make a line. Alternatively, just mark it on both sides, place the straight edge to make a nice straight line connecting the markings, and use your hook blade to cut.
Roll it back up and it’s ready to be placed on the roof.
Lay And Nail The Shed Felt
Grab your ladder and a pocket full of temporary nails, then lay the shed felt on the roof. You can use temporary nails to keep it in place. Once it’s laid out squarely and the overhangs have enough felt, hammer in the galvanized clout nails 6 inches apart all the way across the higher half first, then the bottom. You’ll be nailing on both ends.
Once this is done, nail down the sides 6 inches apart.
Nail or Cut and Fold the Corners
The corners will make a triangle fold on the ends which needs to be adjusted to cover the corner of the roof. This can be handled in 2 ways. Either you can cut the felt on one side with the hook blade then fold it over and nail it. Or you can bend the whole triangle piece to one side and nail it.
A warm sunny day will make the shed felt easier to bend whereas a cold day will make it harder and you may need to cut it instead.
Add Capping Piece to a Pitched Roof
The final area to cover is the peak of the pitched roof. If you have a flat roof, just skip this step.
Measure the length of the pitch and add 10 cm to each side. Mark and cut the felt in the same fashion as the side pieces. Apply the capping piece making sure to cover the vertical nails from the side pieces.
Use Roofing Felt Adhesive To Seal Joints
Apply roofing felt adhesive to seal the joints where the capping meets the sides. This also protects from moisture. Use a brush to apply a thick coat of adhesive. The felt will self-seal around the nails, so you don’t need to do anything with them.
Trim off Excess and Remove Temporary Nails
Use good quality scissors to trim off any excess polythene backing. Inspect for temporary nails and remove them.
Nail on Trim
Nail on trim boards and you’re done.
What Is Shed Felt Adhesive
Shed felt adhesive is a bituminous paint used to secure shed felt to a wood roof in order to protect it from moisture. It is applied in thick layers instead of self-adhesive backing
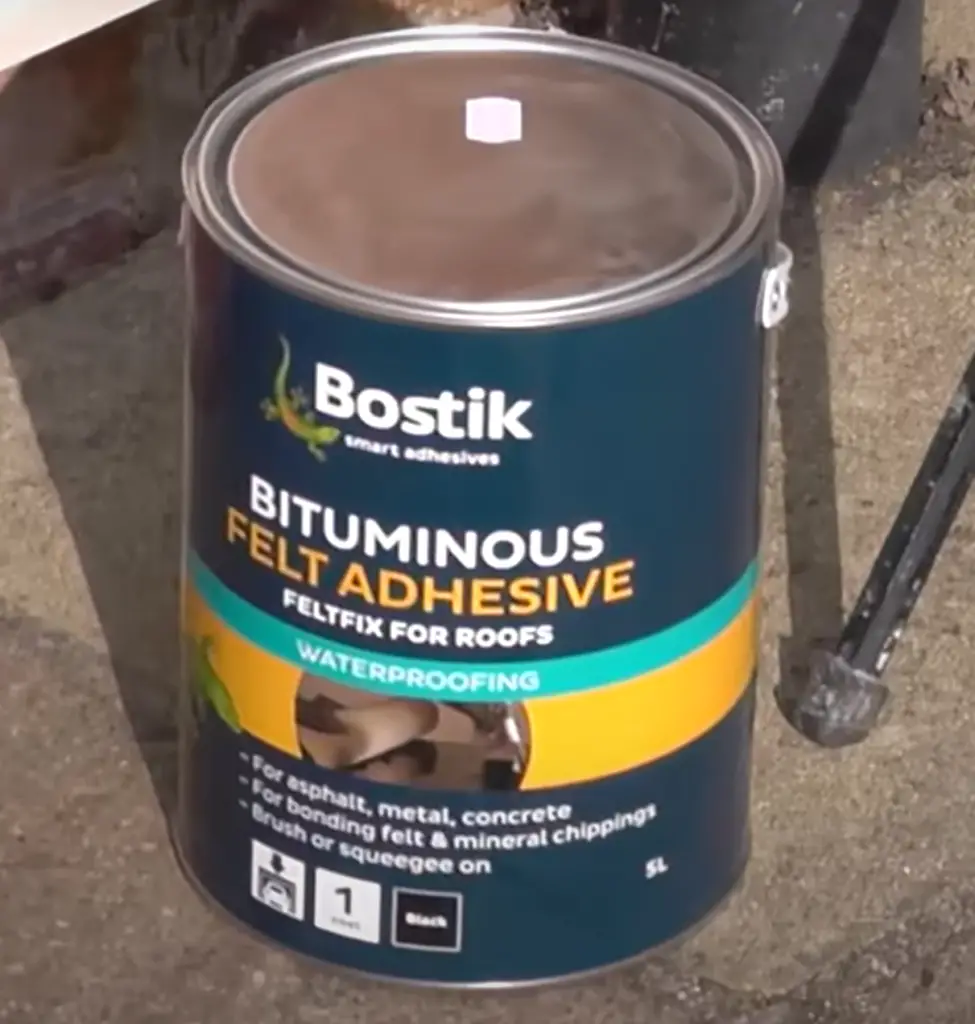
Applying shed felt adhesive is fairly straightforward. Follow the manufacturer recommendation, but most require using only a brush and allowing the roof to dry to the felt. It should be kept dry, so cover with plastic if rain is expected.
Do You Need Adhesive For Shed Felt?
Placing shed felt onto a wooden roof does not require adhesive, but it is recommended to increase adhesion of the shed felt to the roof. It will improve moisture-resistance, adhesion, and weatherproofing of the shed which prevents rot and damage.
What Can I Use Instead of Shed Felt?
There are a few alternatives to shed felt, but most don’t last as long as the professional grade heavy duty shed felt we have discussed.
Alternatives to shed felt include tar paper, organic roofing felt, fiberglass fleece, EDPM, rubber asphalt underlay, TPO, and waterproof ice and rain guare, or peel and stick, can be used.
Tar paper is made from cellulose fibers, glass fibers, or polyester fleece and acts as weatherproofing and a vapor barrier on the roof.
Organic roofing felt uses fibers from rages that are soaked in asphalt to make it waterproof.
Fiberglass fleece felt is considered one of the strongest and most long lasting roofing felts in the industry.
EDPM (Ethylene Propylene Diene Monomer) is a type of singly-ply synthetic rubber roofing cover membrane.
Rubber Asphalt Underlay is more expensive than EDPM roofs. It has a higher percentage of asphalt, polyethylene, and polyester which makes it more resistant and durable and withstands heat better making it a good choice for metal and shingle roofs.
Thermoplastic polyolefin (TPO) is a very popular type of single-ply membrane roofing. It’s most commonly used in commercial buildings.
Waterproof ice and rain guard, otherwise known as peel and stick, is preferred in areas of severe ice and moisture. The modified bitumen adhesive back has a peel-off release film which is removed and the membrane is applied directly to the roof. This makes it watertight and seals nails.