Don’t waste time and money insulating your shed until you read this article weighing the Pro’s and Con’s can be a big investment of both time and money, which might have you wondering if it’s even worth it.
Insulating a shed is worth the time and money if you’re storing weather-sensitive equipment or electronics, animals, or will be spending time inside of it year round. It also prolongs the useful life of your shed through stabilizing temperature and humidity.
Before you invest anything into insulating your shed decide if it’s right for you.

Should I Insulate My Shed?
Here’s our list of the pro’s and con’s of insulating a shed and some recommendations for the type of insulation for each use.
Pro’s of Insulating a Shed
- Maintain stable temperatures for storing weather-sensitive equipment and personal items, like:
- Electric blowers, lawn mowers, and fuel
- Pictures, keepsakes, antiques, silver, and furniture
- Protect animals from extreme weather
- Insulated walls protect animals from wind
- Humidity and severe temperatures are stabilized
- Wool insulation is a good choice
- Earn extra income by renting out your shed or use as a guest house
- Climate-controlled for visitors
- Earn extra income with an vacation rental
- Fiberglass or PIR are good choices
- Create a quiet workspace, man cave, She-shed, or home gym
- Noise and wind are blocked
- Keep computers and other electronics safe in your all year
- Hang out in your shed no matter what the weather
- Make a backyard office and escape the family chaos in your house
- Prolong the life of your shed
- Climates that are prone to humidity and weather extremes need insulation to keep moisture levels as low as possible – but a vapor barrier is needed to avoid rot and mold
- Protects it from pests
Find Out How to Save A Ton of Money on Insulation
Cheap Ways to Insulate a Shed
Con’s of Insulating A Shed
- Cost is too high
- If you’re not well versed in ways to save money on insulation then the cost can be $0.64-$1.19 per square foot
- Insulation varies in cost depending on the type
- Garden sheds don’t need insulation
- If your shed won’t be used for weather-sensitive equipment storage, you don’t need it
- Wheelbarrows, hoses, rakes, shovels, and watering cans should be OK
- Insulation can grow mold and rot
- In humid environments, a vapor barrier is a necessity to avoid creating problems
- Takes too long to install
- Depending on how big your shed is and how fast you work, it can take 2-5 hours to put up insulation in your shed
How To Insulate A Shed
Step 1: Waterproof And Seal Your Shed
First, make sure there are no cracks or holes in your shed. Inspect every nook and cranny around the shed and seal the damaged structures. Don’t forget to seal and waterproof your doors and windows, too. If the structure has a lot of significant damages consider siding the shed with wood, vinyl, or metal.
Step 2: Measure The Shed
Next, get precise measurements of your shed. This is a crucial step to make sure you’re pieces will fit.
Pro Tip: If you’re using fiberglass batt insulation, be sure to measure the stud. If you’re using blown-in or foam insulation, consult a professional since the measurement for these insulations needs special equipment.
Step 3: Choose Insulation Material
Picking the right insulation materials for your shed depends on your climate and which part of the shed you are insulating. It’s all about the R-Value, which is engineering talk for explaining how good an insulation material is at preventing conductive air flow or heat transfer. Have insulation delivered if you can.
Popular insulation choices for a shed:
- Walls
- Rockwool is a popular choice for it’s quality and ease of installation
- Bubble wrap, fiberglass, reflective foam thermal insulation, and Rockwool
- Bubble wrap (no, not the stuff you use to ship breakables) is good for wood sheds, not plastic or metal
- Floor
- Breathable membrane or carpet
- Foam insulation boards
- Roof
- Rigid panel insulation, like Foilboard
- Fiberglass
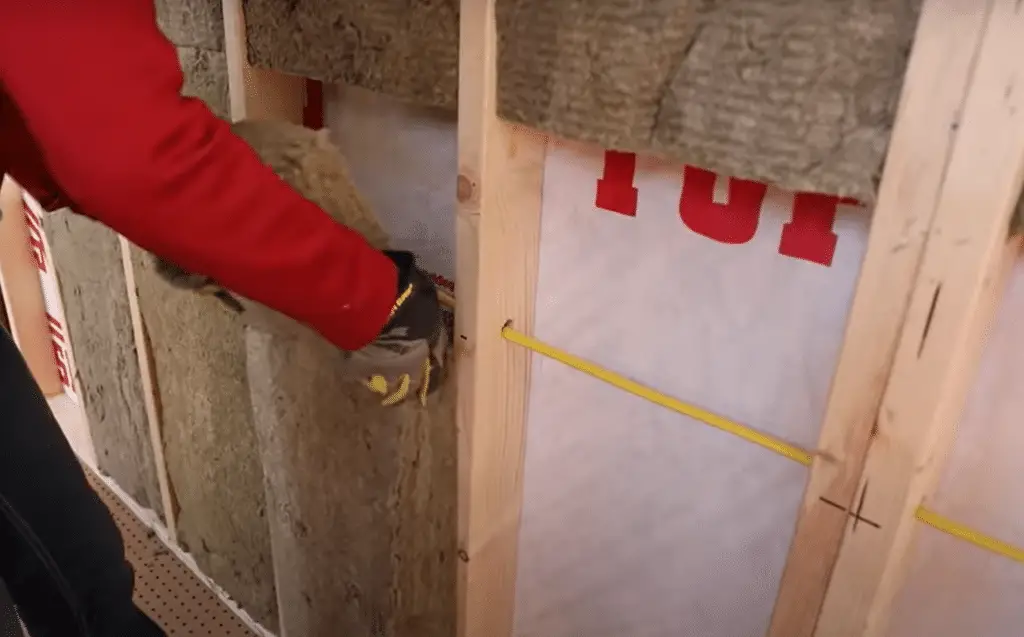
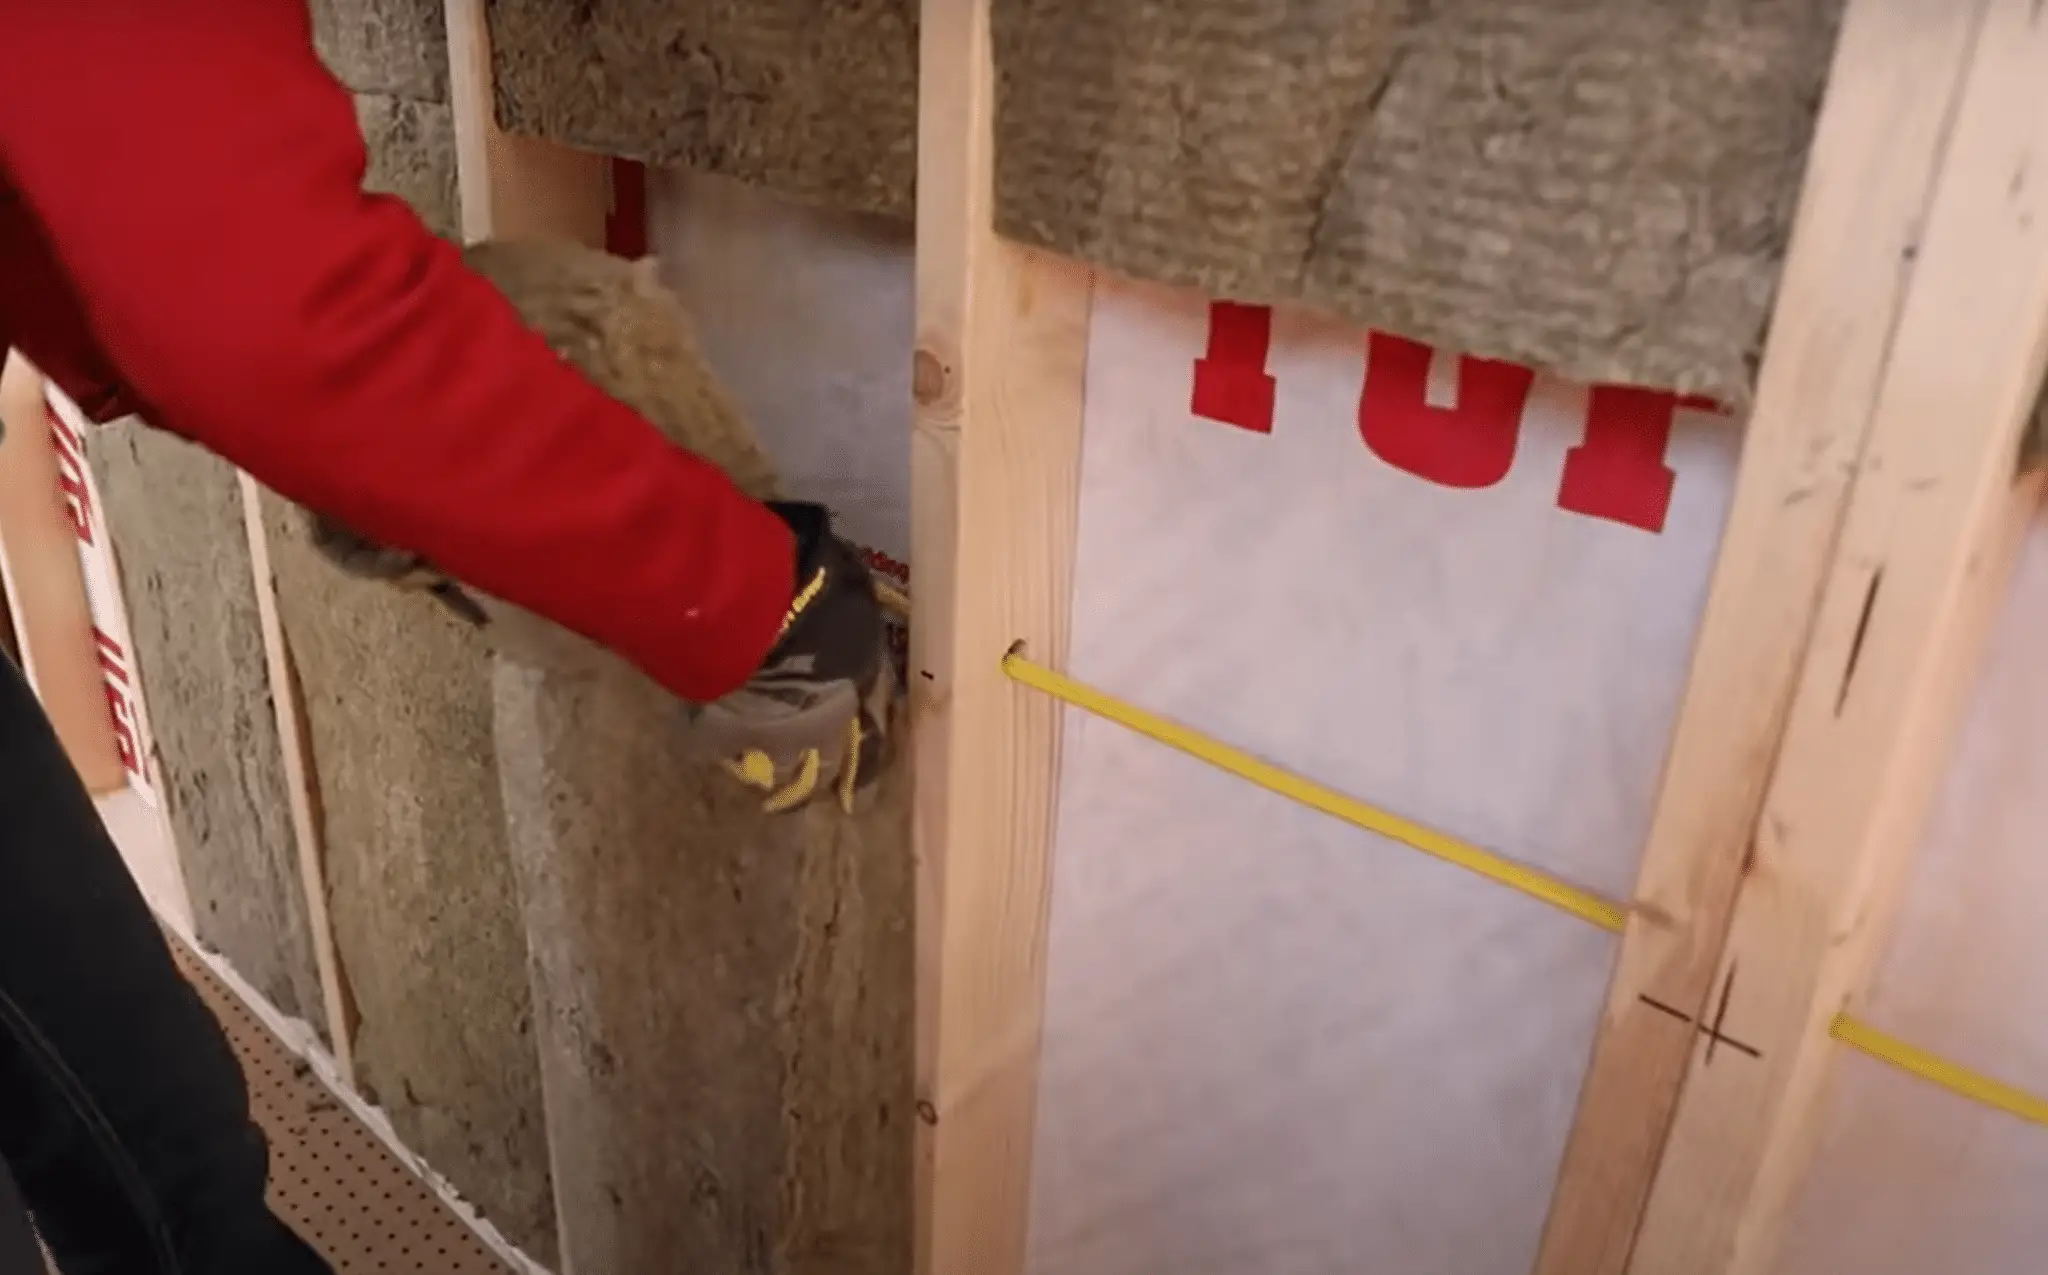
4. Wear a HEPA mask and cut and trim insulation into framed walls and roof
- Measure and cut pieces of insulation into the framed wall
- Save scraps and small pieces, you’ll need them for small areas
- Create a slit or dig out of insulation – without going through it – to put over electrical wires (you can’t put insulation on top of electrical wires)
5. Install a plastic vapor barrier over insulation
- To protect the insulation from moisture and humidity until you can install walls, you’ll need a vapor barrier
- Use a stapler to cover insulation and overlap where you need to
- Put Tuck Tape where there are staples or where the plastic might be exposed to moisture
Now it is ready for walls, usually dry wall or ship lathe.
To install insulation, check out this step-by-step How-To video.
Final Thoughts
Insulating a shed is an investment of time and money and you need to consider the pro’s and con’s to decide if it’s right for you. The climate, humidity, and reasons you are using a shed all play a role in this decision. Be sure to read our quick article Cheap Ways to Insulate a Shed which will help you get started without breaking the bank.
