Your shed needs to be protected from the elements to keep it looking good. This step-by-step guide shows you wood treatment options, how to prep and treat wood for outdoor use, find the best wood preservers, sealants, and top coats to give your shed protection for as long as you maintain it.
Treating wood for outdoor use makes it waterproof and resistant to weather. The most common options are oil finishes, wood stain or sealer, stain-sealer combinations, varnishes, and lacquers. Cedarwood, Redwood, and pressure-treated timber do not require wood treatment.
Shed Protection
The best time to protect your shed for the long run is when it’s new. All wood, except cedarwood, redwood, and pressure treated timber, are vulnerable to the elements and get ruined by UV damage and moisture. This causes rot, fungi, mold, and decay. Over time, your shed can get cracks, splits, and the wood will fade.
The goal of treating wood is to provide protection from the elements and minimize the risk of natural damage. This will keep you shed looking great for years.
All outdoor wood needs to be treated, except cedar, redwood, and pressure-treated timber.
How to Treat Wood For Outdoor Use
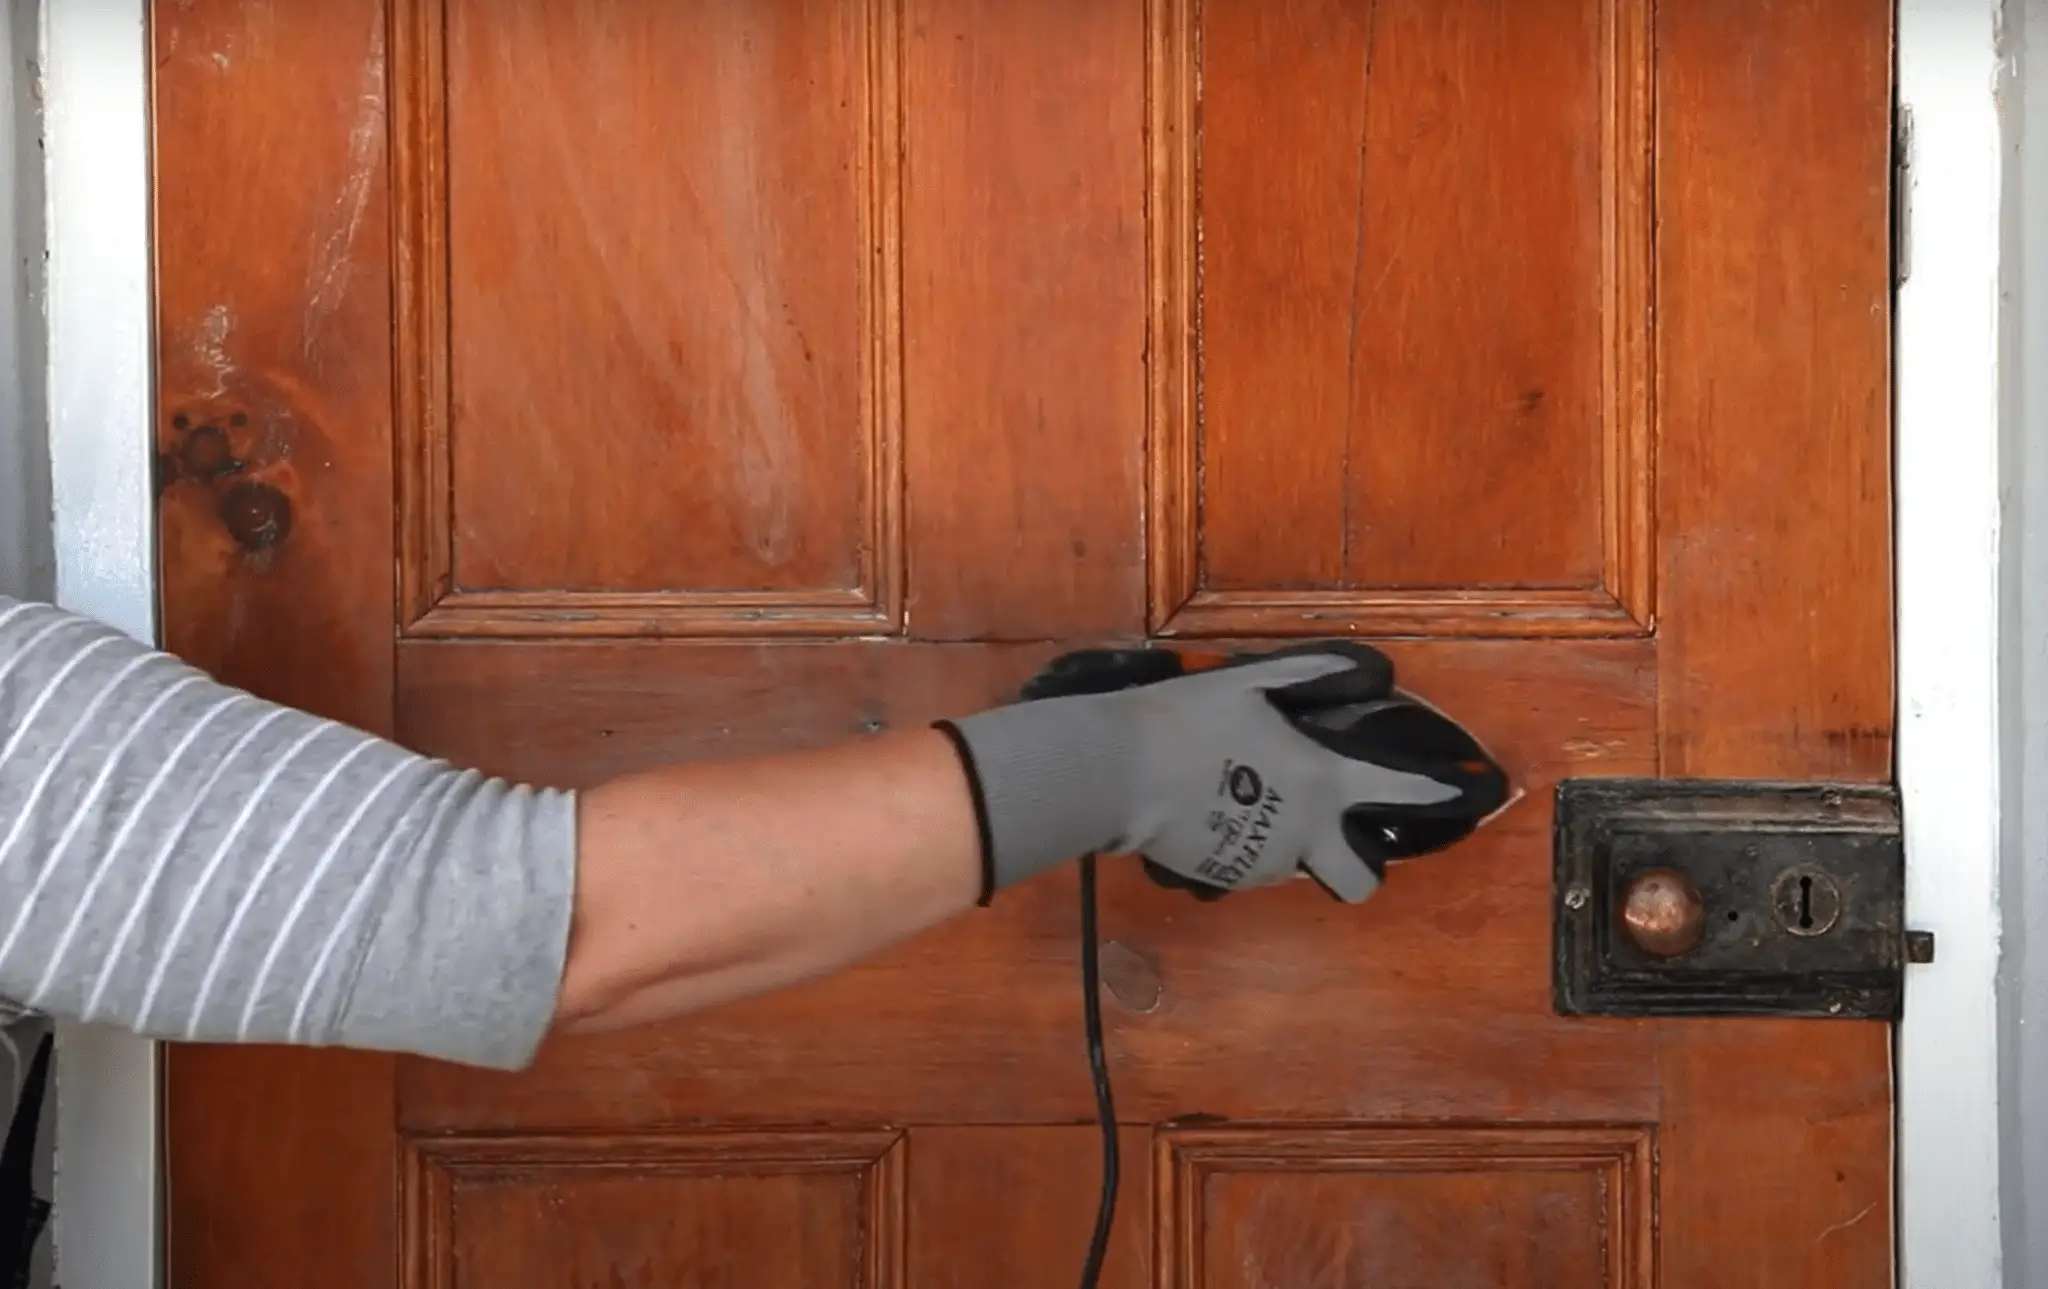
Before getting started, the wood needs to be prepped and fully dry. Even new wood needs to be cleaned.
“Mill scale” happens during the milling process and can prevent the stain from absorbing into the wood. New wood also needs to be dried out for 2-4 weeks before you can stain it.
The goal of prepping wood is to remove any particles and organic materials that might prevent the treatment from penetrating the wood and allow moisture to get in.
How to Prep Wood for Treatment
- Wipe down your shed with a damp microfiber cloth and allow it to dry.
- Wash with a good quality fungicide to remove moss, fungi, algae, and any other types of organic growth Option is to use oxygenated bleach or an eco-friendly cleaner like this.
- Use sandpaper to remove any previous stains, varnishes, top coats, and paint
- Allow wood to dry completely. This may be as along as 24 hours, depending on your climate and new pressure treated wood needs 2-4 weeks since it arrives wet from the supplier
How to Apply Oil Sealer
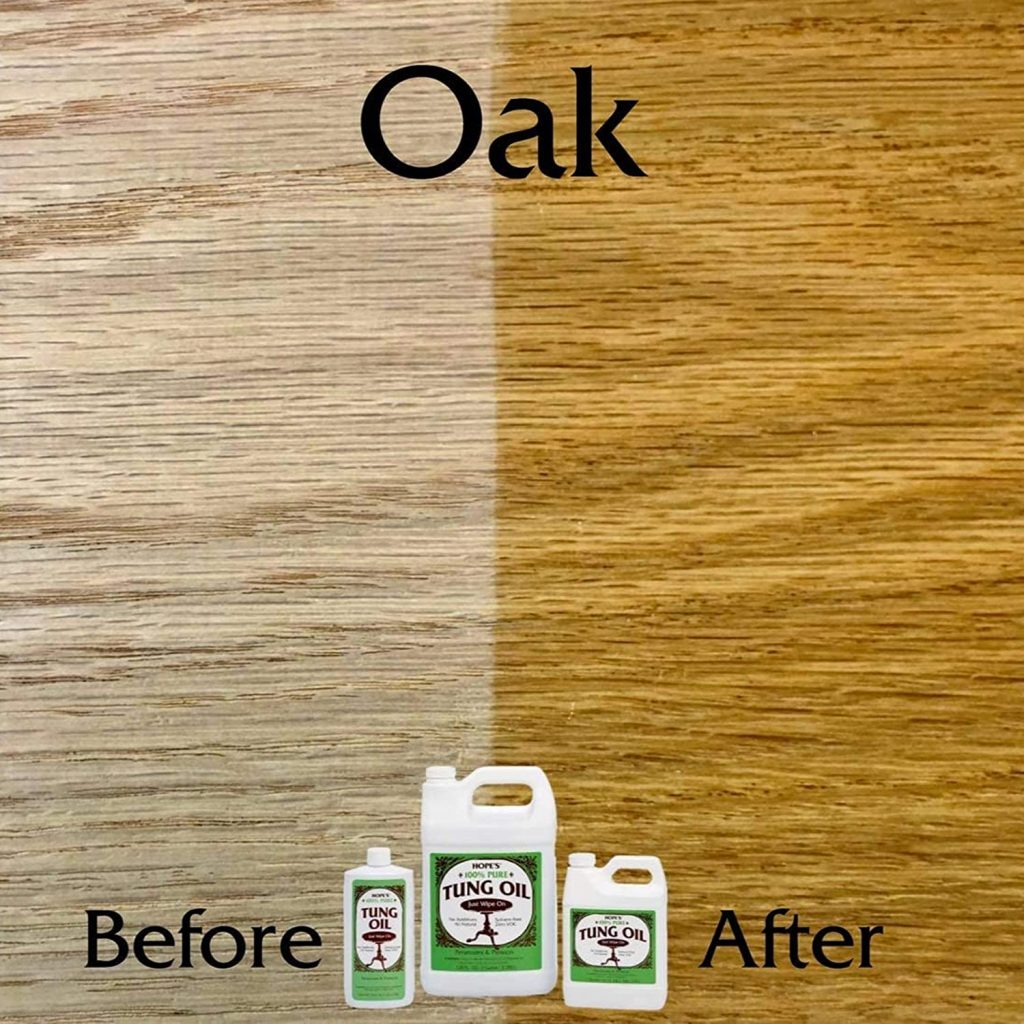
The old fashioned, tried and true methods for treating wood is with an oil sealer. The best are tung oil and linseed oil, which are natural oils. But they have to mixed with mineral spirits or polyurethane. Over time, polyurethane can yellow. You can combat this by using a stain/sealer combo product, the pigment hides the yellowing.
- Choose your wood sealant
- Stir oil and additive together until very well combined
- Using a paintbrush, spread mixture evenly onto prepared wood
- Let dry 12-24 hours then reapply another coat
- Allow to dry 12- 24 hours then wipe excess oil with a dry towel
- Don’t touch for 8 hours then use fine sandpaper to smooth
- Repeat steps 1-6, if needed
How to Apply Wood Sealer/Stain
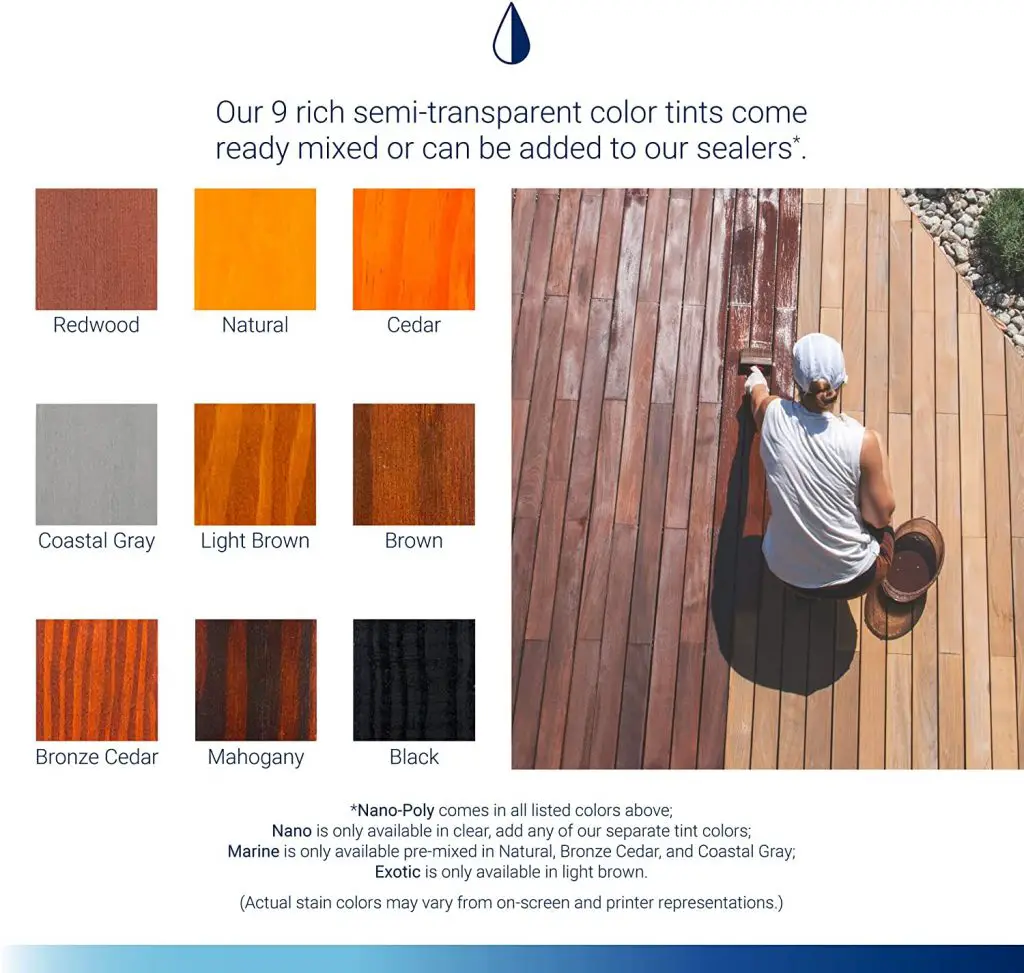
Using a wood sealant or wood stain makes your shed waterproof and it will be very resilient to the elements. The difference between the two is color. Sealant has a clear finish and wood stain comes in shades with different pigments to choose from. Wood stains are better for wood with imperfections.
Applying with a paint sprayer instead of a paintbrush makes it easier. A paint brush will also work but your arm might get tired. If applying both, use stain first for 3 coats and repeat the process with sealant. Or, consider the stain/sealant combo (next section)
High quality stains and sealants will hold up better over time than cheap ones. All stains and sealants need to be maintained and reapplied every 3-5 years, depending on your climate. I find that marine sealants hold up best over time.
- Follow steps to prep wood (above)
- Choose your stain or sealant and apply with a paint sprayer or brush.
- Apply first coat and allow to dry 4-10 hours based on the manufacturers recommendation
- Use very find sandpaper to smooth the first coat, then wipe it clean
- Apply a second coat, allow to dry completely, and sand with very fine sandpaper, then wipe clean
- Apply a third coat and repeat the process
- Allow your shed to cure for 3-4 days before touching it
How to Seal Wood
How to Apply a Stain/Sealer Combination
For a nice look with the benefits of both a stain and a sealer, try a stain/sealer combo products. It’s faster than applying both a stain and sealer as separate products and gives a similar result. Stain/sealer combo products will add pigment and seal at the same time which prevents the yellowing effect of polyurethane.

- Follow steps to prep wood (see above)
- Apply combo product with a paint sprayer or paint brush
- Allow to dry at least 8 hours, depending on the product’s instructions
- Smooth with very fine sandpaper and wipe clean
- Apply a second coat, allow to dry at least 8 hours, sand with very fine sandpaper and wipe clean
- Apply a third coat, allow to dry at least 10 hours, and sand with very fine sandpaper and wipe clean
- Allow at least 3-4 days to cure completely
Applying a Topcoat to a Shed
Topcoats are lacquers and varnishes which go on after the initial wood preserver was applied. They work great for decorating and waterproofing.
Using a preserver without a topcoat is fine. But using a topcoat without a preserver is not fine. Wood needs to be preserved so it won’t retain moisture and rot.
If you are planning to add a topcoat, don’t use preservers that have wax. The wax makes the surface slippery, which causes the topcoat to slip away or be applied incorrectly.
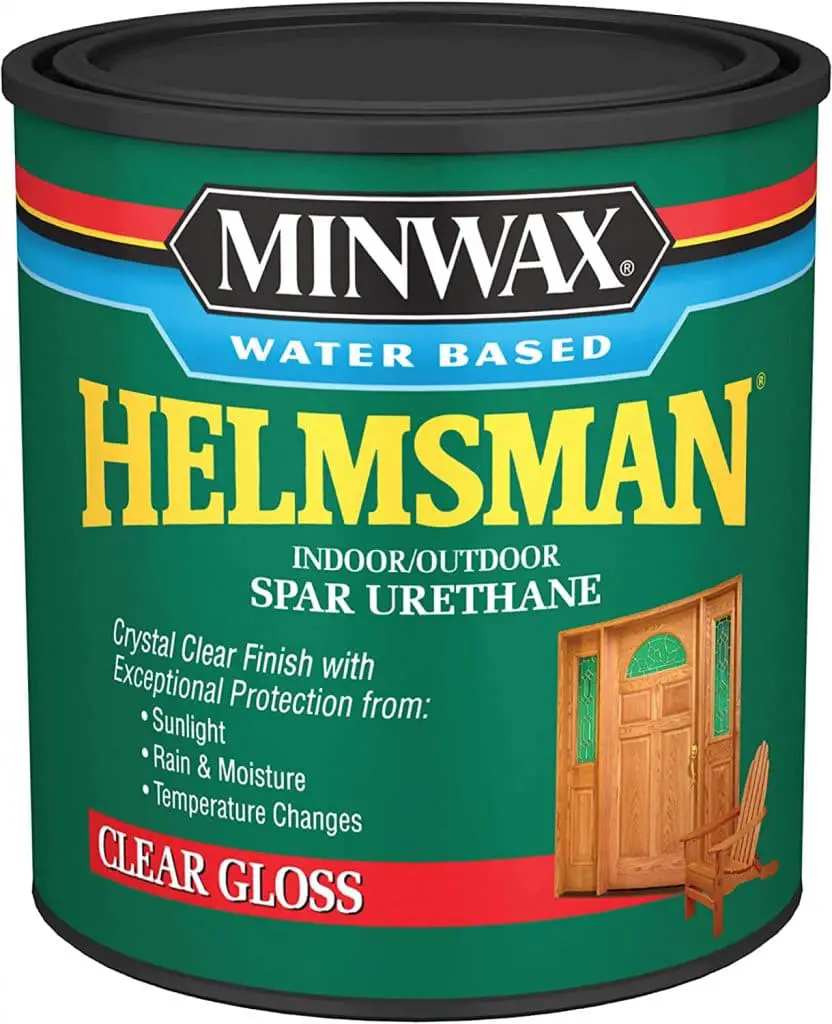
How to Apply a Varnish
Varnish, like oil sealant, is a topcoat that works well to create a water tight seal on wood but can’t be used as a wood preservative alone because they don’t fill up gaps which cause moisture build up over time. Minwax is water-based for easy clean up and holds up very well over time.
- Follow steps to prep wood (see above)
- Apply varnish with a paint brush, going against the grain
- Allow to dry 12-24 hours before second coat
- Apply a second coat and allow to dry
- Apply additional coats to reach the look you like
- Allow to cure for 2 weeks
How to Apply a Lacquer
Lacquer has a bad rep because of it’s fumes, flammability, and finishing problems, but for a shed it has some real advantages. Lacquer dries really fast, which reduces the risk your shed getting dusty while drying, and since you’re applying it outdoors, the fumes shouldn’t be a big problem. You do need to wear a HEPA filter mask while applying, just to be on the safe side. To make it easier to apply, use a good quality lacquer that doesn’t require sanding.
Apply with a paint sprayer or good quality paint brush. Cheap brushes can dissolve with lacquer. A large natural bristle brush will tolerate lacquer.
- Follow Steps to Prep Wood (see above)
- Wear HEPA mask
- Using long, even strokes, apply lacquer
- Allow to dry at least 30 minutes before applying another coat
- Apply second coat and allow to dry completely 1-2 days
- Allow to cure 3-5 days
Best Wood Preservers For Your Shed
1. Best For Sealant for Quick Drying: Seal Once Marine Sealer
- Quick dry – Manufacturer recommends waiting only 1 hour between coats and 2-3 hours until fully dry
- 12-24 hour cure time
- Non-toxic, safe for people and pets
- Easy to apply
- Great for DIY sheds
2. Best Stain/Sealer Combination: Storm Protector Stain & Sealer
- Oil-based stain/sealer highlights the wood
- Compatible with most woods
- 24 hour dry time between coats
- Easy to apply
3. Best Fungicide for Wood Prep: RMR-86
- Fast-acting to kill mold, fungus, mildew and other organic compounds on contact
- Quick drying so you can get on with prepping the wood for your shed
- Easy to apply with an instant sprayer
3 Ways To Protect And Maintain Your Shed
1. Treat The Wood As Recommended
Maintaining the shine and color of your shed requires treating it again. Most products require this every 3-5 years. Oil sealant needs a new treatment every year. Your climate and the weather will affect how long the treatment lasts.
2. Check for Pests and Moisture
Insects, especially termites, on a wood shed can damage it fairly quickly. Check for signs of infestations as well as molds, fungus, and other organic compounds that may be getting through the cracks of the treatment. Clear plants that are right next to the shed which may decrease insects.
3. Dehumidify and Decrease Moisture
Using an air conditioner with a dehumidifier will help keep moisture out of the inside of the shed. In humid climate, this can help keep fungus and mold out of your shed.
Final Thoughts
Treating wood for outdoor use and prolonging the life of your shed comes down to a good wood prep, preservation technique, and maintenance. This keeps moisture and damaging UV rays to a minimum and keeps your shed looking beautiful for years to come. Properly applying the products is the key to doing it right.